-
버튼 인터럽트, 온습도센서 그리고 HTTP통신HTTP 통신 2023. 8. 11. 20:39
언제나 버튼만 누르면 현장에서 센서로 측정하고 LTE CATM1을 통해 클라우드로 데이터를 업로드하도록 세트를 제작했습니다.
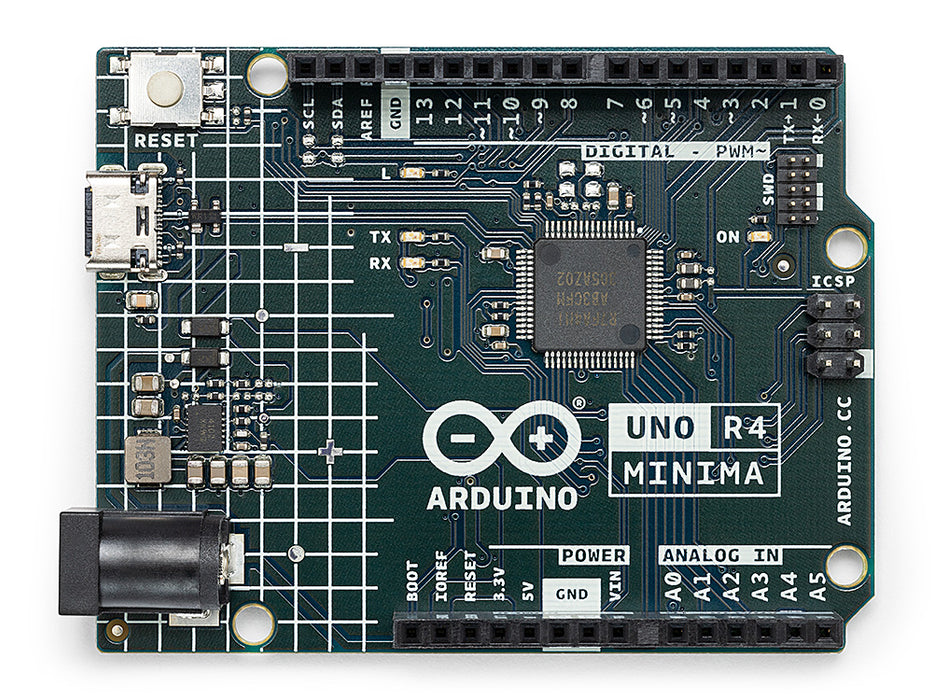
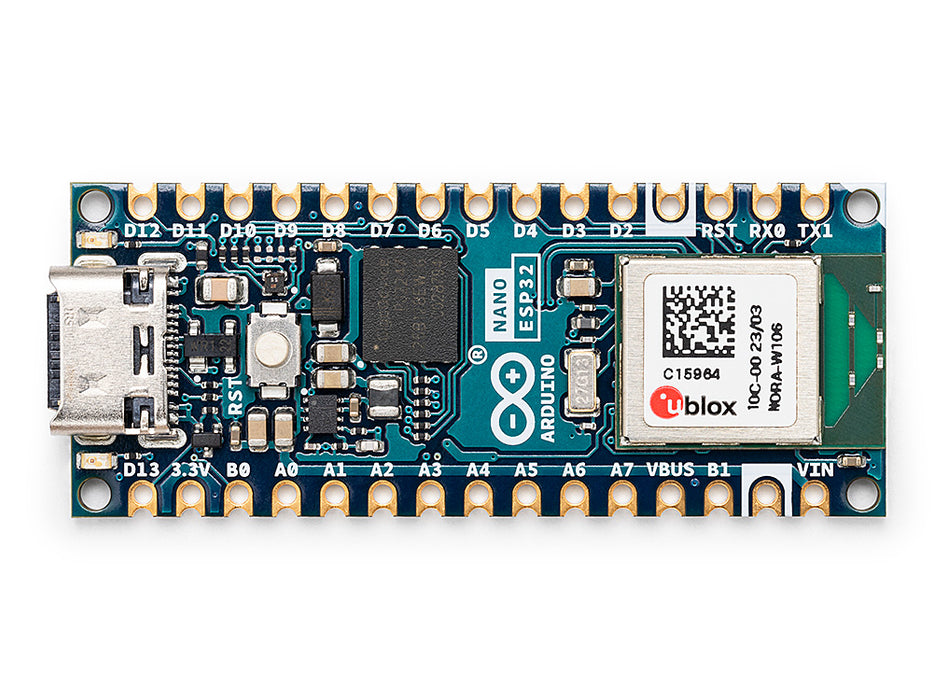
테스트에 사용한 개발보드는 Arduino UNO R4 MINIMA, Arduino NANO ESP32입니다.
https://store.arduino.cc/products/uno-r4-minima UNO R3 바통을 넘겨받은 적통 계승자로 32비트 ARM Processor를 탑재한 UNO R4보드입니다.

https://store.arduino.cc/products/nano-esp32 이전 블로그에서 리뷰한 Arduino NANO ESP32 보드 입니다. 최신 ESP32-S3코어를 탑재하고 있습니다.
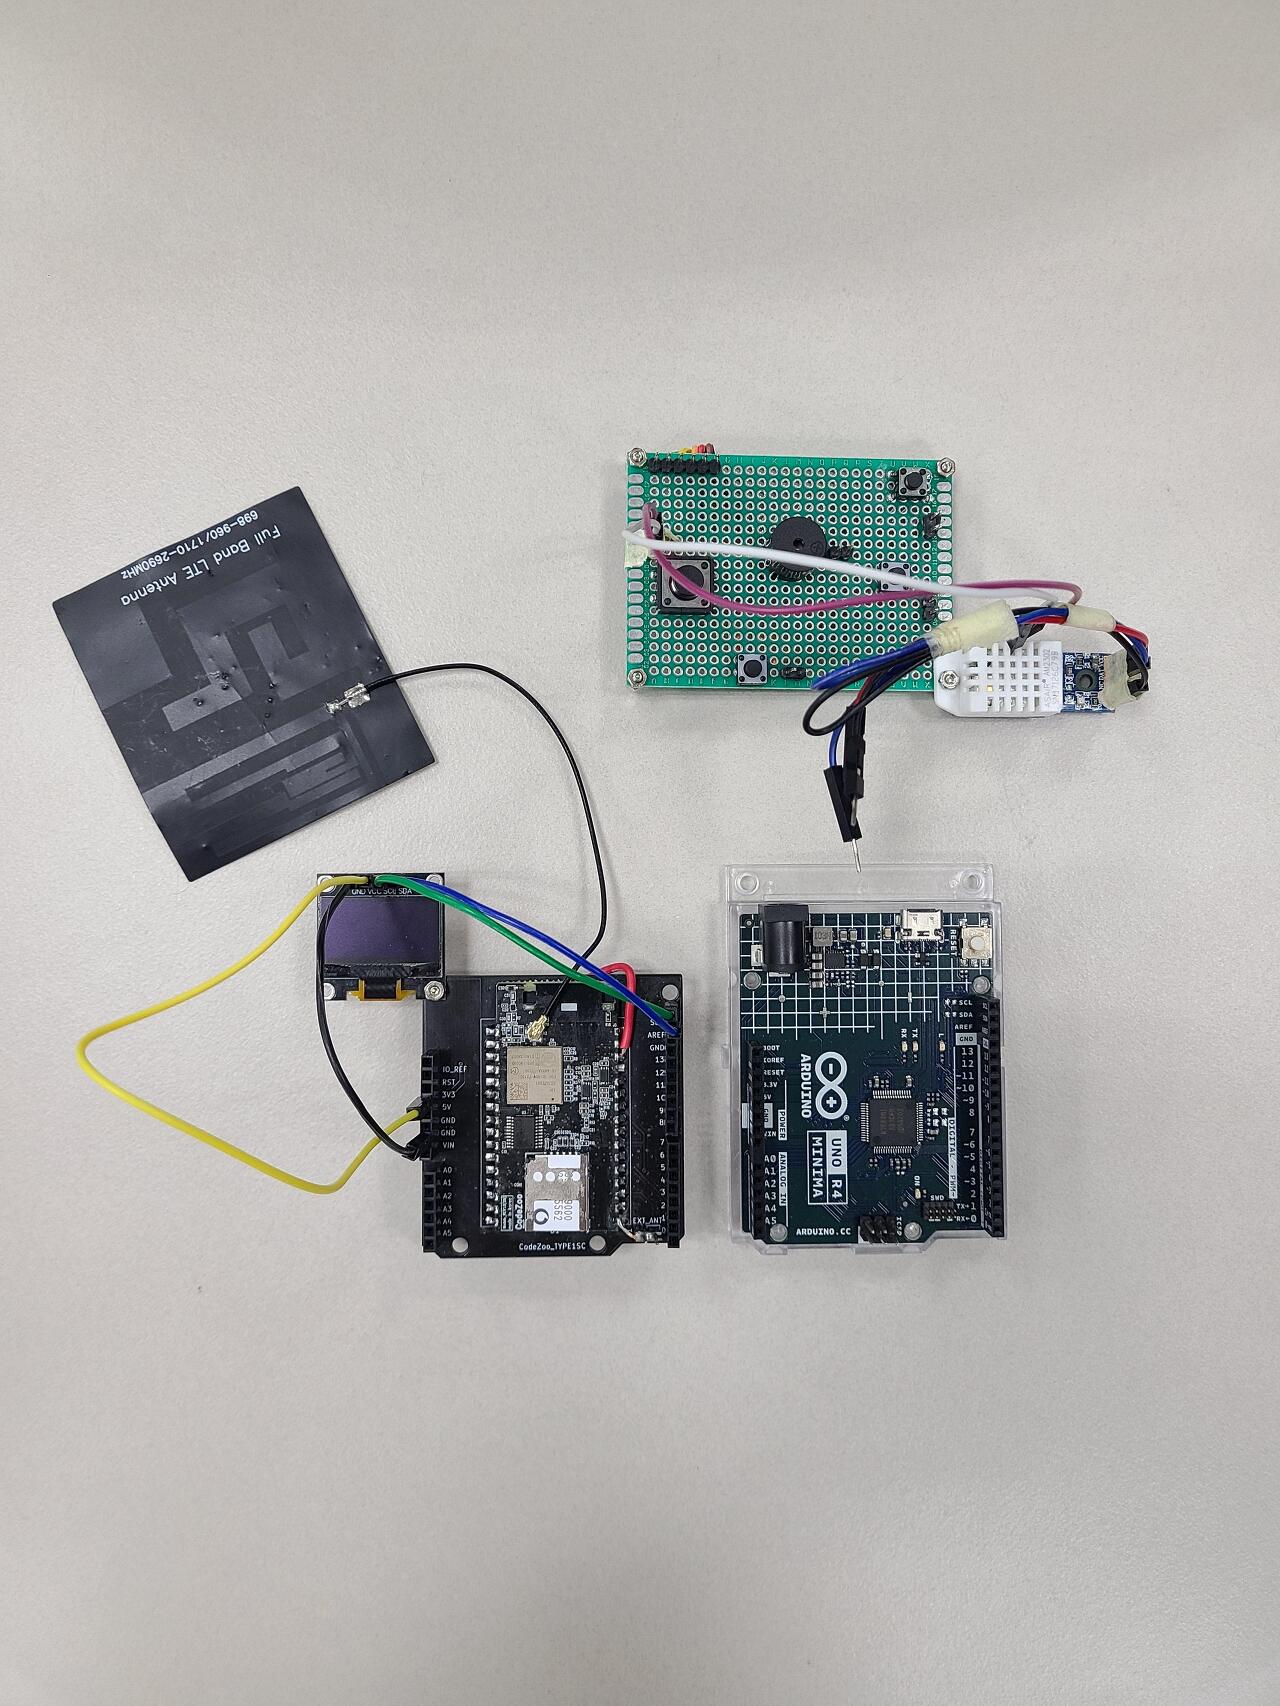
아래와 같이 시스템을 구성했습니다.
LTE CATM1 내장형 모뎀(+쉴드), 외장 안테나, 0.96인치 OLED 디스플레이, DHT22 온습도 센서, 버튼으로 구성했습니다.
이중 OLED 디스플레이 스펙은 다음과 같습니다. 인터페이스, 해상도, 드라이버 IC 스펙이 중요하므로 굵게 표시했습니다.
0.96inch OLED 스펙
- 인터페이스 : I2C
- pin description: GND, VCC, SCL, SDA
- 전압: 3V ~ 5VDC
- 작동 온도:-30 ° ~ 70 °
- 캐릭터 색상: 화이트
- 해상도: 128 X 64
- 패널 차원: 26.70*19.26*1.85mm/1.03*0.76*0.07 인치 (대략)
- 활성 영역: 21.74*11.2mm/0.86*0.44 인치 (약)
- 드라이버 IC: SSD1306
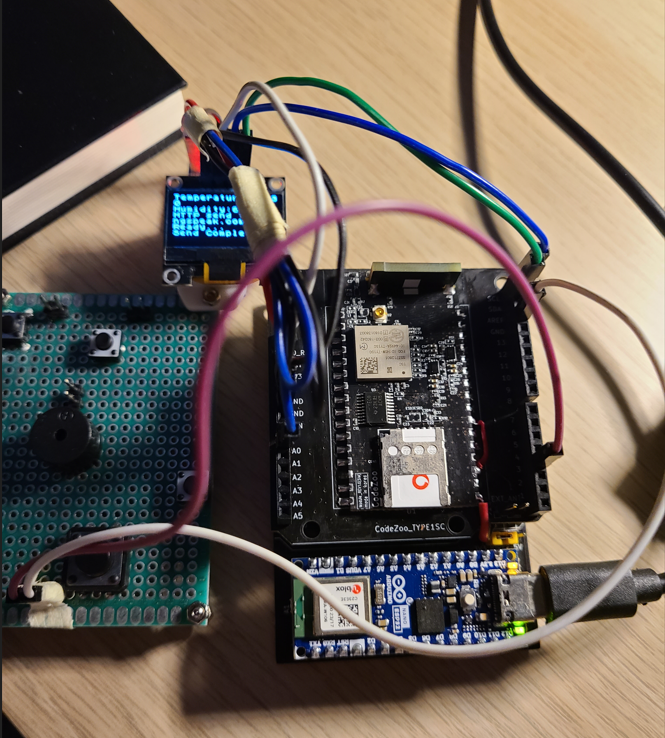
Arduino UNO R4 Minima, LTE CATM1 모뎀, 0.96inch OLED Display, DHT22 온습도센서, 버튼 UNO R4에 조립한 모습은 아래와 같습니다. 밖에서 사용하기 위해 외장배터리도 추가했습니다. 전원은 USB-C포트로 제공합니다. 버튼은 한쪽은 그라운드(GND)에 연결하고 다른 쪽은 D3에 연결했습니다.

OLED display에 화면을 표시하기 위해 U8g2 Library를 설치했습니다. 다양한 Driver IC를 지원합니다.

구현한 코드를 살펴보겠습니다.
화면에 Text를 출력하기 위해 굵게 표시한 라이브러리와 설정을 적용했습니다.
#include "TYPE1SC.h"
#include <U8x8lib.h>
#ifdef U8X8_HAVE_HW_I2C
#include <Wire.h>
#endif
#define U8LOG_WIDTH 16
#define U8LOG_HEIGHT 8
uint8_t u8log_buffer[U8LOG_WIDTH * U8LOG_HEIGHT];
U8X8LOG u8x8log;
U8X8_SSD1306_128X64_NONAME_HW_I2C u8x8(/* reset=*/ U8X8_PIN_NONE);
#define APIKEY "Used Write API KEY"
#define DebugSerial Serial
#define M1Serial Serial1
#define BUTTON_CALL 3
#define DHTPIN A0
#include "DHT.h" /* https://github.com/markruys/arduino-DHT */
// Uncomment whatever type you're using!
//#define DHTTYPE DHT11 // DHT 11
#define DHTTYPE DHT22 // DHT 22 (AM2302), AM2321
//#define DHTTYPE DHT21 // DHT 21 (AM2301)
char recvBuffer[700];
DHT dht(DHTPIN, DHTTYPE);
TYPE1SC TYPE1SC(M1Serial, DebugSerial);
int btn1 = 0;
unsigned long button_time1 = 0;
unsigned long last_button_time1 = 0;
float temp = 0.0;
float humi = 0.0;
/* Enter a DNS address to get an IP address */
char IPAddr[32];
버튼을 인터럽트 방식으로 사용하고 채터링(신호 인가시 튀는 현상)을 피하기 위해
아래와 같이 300ms 이상 사용자가 누르고 있을 때만 버튼 입력을 처리하게 구성했습니다.
//Pressed for more than 300ms
void SW01_ISR() {
button_time1 = millis();
if (button_time1 - last_button_time1 > 300)
{
btn1 = 1;
last_button_time1 = button_time1;
}
}
httpDataSend 함수에 온습도 센서에서 얻어 온 온도, 습도값을 넣어서 호출하면 클라우드 서버에 데이터를 전송합니다.
void httpDataSend(float temp, float humi) {
int _PORT = 80;
char sckInfo[128];
int recvSize;
String WApiKey = APIKEY; // Thing Speak Write API Key 16Character
String fieldTemp = "field1"; // Air temperature
String fieldHumi = "field2"; // Air humidity
if (TYPE1SC.setSocket_EV(1) == 0)
DebugSerial.println("Socket All Event Enable!!!");
/* 1 :TCP Socket Create ( 0:UDP, 1:TCP ) */
if (TYPE1SC.socketCreate(1, IPAddr, _PORT) == 0)
DebugSerial.println("TCP Socket Create!!!");
INFO:
/* 2 :TCP Socket Activation */
if (TYPE1SC.socketActivate() == 0)
DebugSerial.println("TCP Socket Activation!!!");
if (TYPE1SC.socketInfo(sckInfo, sizeof(sckInfo)) == 0) {
DebugSerial.print("Socket Info : ");
DebugSerial.println(sckInfo);
if (strcmp(sckInfo, "ACTIVATED")) {
TYPE1SC.socketDeActivate();
TYPE1SC.socketClose();
delay(3000);
goto INFO;
}
}
/* 3 :TCP Socket Send Data */
String data = "GET /update";
data += "?api_key=" + WApiKey + "&" + fieldTemp + "=" + String(temp) + "&" +
fieldHumi + "=" + String(humi);
data += " HTTP/1.1\r\n";
data += "Host: api.thingspeak.com\r\n";
data += "Connection: close\r\n\r\n";
if (TYPE1SC.socketSend(data.c_str()) == 0) {
DebugSerial.print("[HTTP Send] >> ");
DebugSerial.println(data);
} else
DebugSerial.println("Send Fail!!!");
/* 4 :TCP Socket Recv Data */
if (TYPE1SC.socketRecvHTTP(recvBuffer, sizeof(recvBuffer), &recvSize) == 0) {
DebugSerial.print("[Recv] >> ");
DebugSerial.println(recvBuffer);
DebugSerial.print("[RecvSize] >> ");
DebugSerial.println(recvSize);
} else {
DebugSerial.println("Recv Fail!!!");
}
/* 5 :TCP Socket DeActivation */
if (TYPE1SC.socketDeActivate() == 0)
DebugSerial.println("TCP Socket DeActivation!!!");
if (TYPE1SC.socketInfo(sckInfo, sizeof(sckInfo)) == 0) {
DebugSerial.print("Socket Info : ");
DebugSerial.println(sckInfo);
}
/* 6 :TCP Socket DeActivation */
if (TYPE1SC.socketClose() == 0)
DebugSerial.println("TCP Socket Close!!!");
}
Arduino UNO R4 전체 소스 코드 참고
Arduino NANO ESP32의 경우 코드가 거의 동일하지만 약간의 차이가 있습니다.
이전에 포스팅한 내용과 마찬가지로 Serial1 D0, D1으로 지정되어 있지 않아서 아래와 같이 명시적으로 지정해 줘야 합니다.
void setup() {
pinMode(LED_BUILTIN, OUTPUT);
digitalWrite(LED_BUILTIN, HIGH);
// put your setup code here, to run once:
M1Serial.begin(115200, SERIAL_8N1, D0, D1);
버튼 인터럽트 처리하는 부분도 IRAM_ATTR 형태로 지정해 줘야 합니다.
//Pressed for more than 300ms
void IRAM_ATTR SW01_ISR() {
button_time1 = millis();
if (button_time1 - last_button_time1 > 300)
{
btn1 = 1;
last_button_time1 = button_time1;
}
}
인터럽트를 선언해 주는 부분도 약간 차이가 있습니다.
<Arduino UNO R4>
pinMode(BUTTON_CALL, INPUT_PULLUP);
attachInterrupt(digitalPinToInterrupt(BUTTON_CALL), SW01_ISR, FALLING);
<Arduino NANO ESP32>
pinMode(BUTTON_CALL, INPUT_PULLUP);
attachInterrupt(BUTTON_CALL, SW01_ISR, FALLING);
Arduino NANO ESP32 전체 소스 코드 참고NANO_ESP32_Button.ino0.01MB
Arduino NANO ESP32로 구성한 세트 동작영상
Arduino UNO R4 Minima 세트
Arduino NANO ESP32 세트
측정한 데이터는 Thingspeak.com 클라우드에 올라가서 상시 모니터링이 가능합니다.

만든 장비로 한강 고수부지에서 측정한 이야기https://codezoo.tistory.com/70
[vodafone] 서울 한강 고수부지 온도, 습도 측정 & 클라우드 전송
2023년 8월 7일에 다녀 왔습니다. ------------------------------------------------------------------ 한밤에도 30도가 넘는 폭염이 계속되고 있습니다. 무더운 날씨에 강가는 그래도 조금 시원한지 확인해 보기
codezoo.tistory.com
LTE-CATM1 내장형 모뎀 대량 구매 상담, 외주 개발, 협업 문의, vodafone IoT유심 문의
(주)코드주
장병남 대표 010-8965-1323 rooney.jang@codezoo.co.krVodafone Global IoT SIM Card : codezoo
[codezoo] IoT Global SIM, IoT Connectivity, IoT Device
smartstore.naver.com
'HTTP 통신' 카테고리의 다른 글
TLS Socket을 이용한 HTTPS GET, POST 통신 (2) 2023.10.26 모뎀에 사전 설치된 인증서로 https 통신하기 (0) 2023.08.15 https 서버와 통신하기 두번째 이야기 (1) (2) 2023.02.04 https 서버와 통신하기 (2) 2022.12.06 스마트팜, 센서 그리고 LTE CATM1 모뎀 (0) 2022.05.03
